iPhone 13 Pro Back Glass Replacement
Objective
The primary objective of this project is to replace the damaged back glass of an iPhone 13 Pro while ensuring the device retains its original functionality, waterproofing, and aesthetic appeal. This repair will restore the device to its pre-damage condition, ensuring all features such as wireless charging, camera functionality, and structural integrity are preserved.
Scope of Work
The scope of this project includes the following tasks:
- Diagnosis: Assess the extent of damage to the back glass and internal components. This includes checking for cracks, scratches, and any potential damage to the internal components caused by the impact.
- Replacement: Remove the damaged back glass and replace it with a high-quality OEM (Original Equipment Manufacturer) or aftermarket part. This involves carefully disassembling the device and ensuring no additional damage occurs during the process.
- Testing: After the replacement, test all functionalities, including wireless charging, camera performance, button responsiveness, and overall device performance.
- Quality Assurance: Verify the device’s waterproofing and structural integrity to ensure it meets the original manufacturer’s standards.
Tools and Materials Required
Tools:
- Heat gun or iOpener: Used to soften the adhesive around the edges of the back glass, making it easier to remove.
- Suction cup and opening tools: Essential for lifting the back glass and separating it from the frame without damaging internal components.
- Precision screwdrivers (P2, P5, Y000): Required for removing screws and disassembling the device.
- Tweezers and spudgers: Used for handling small components and prying open delicate parts.
- Laser cleaning machine (optional): For removing stubborn adhesive residue from the frame.
- Adhesive applicator: Ensures precise application of the new adhesive during reassembly.
Materials:
- Replacement back glass: Choose between OEM or high-quality aftermarket parts. OEM parts are recommended for better compatibility and performance.
- Waterproof adhesive gasket: Ensures the device retains its waterproofing capabilities after the repair.
- Isopropyl alcohol and cleaning cloths: Used for cleaning the frame and removing any residual adhesive.
Step-by-Step Repair Process
- Preparation: Power off the iPhone 13 Pro and gather all necessary tools and materials. Ensure the workspace is clean and well-lit to avoid losing small components.
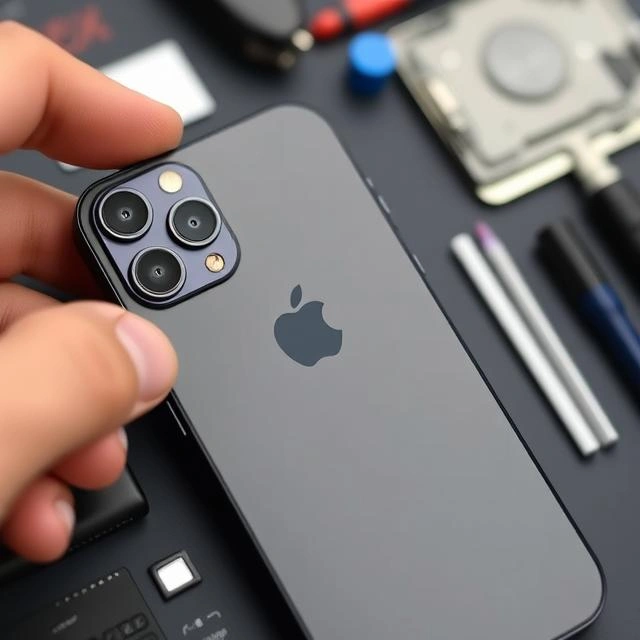
- Back Glass Removal: Use a heat gun or iOpener to soften the adhesive around the edges of the back glass. Attach a suction cup to lift the back glass slightly, then use opening tools to carefully separate it from the frame. Take care not to damage internal components such as the battery or wireless charging coil.
- Adhesive Removal: Remove any remaining adhesive from the frame using isopropyl alcohol and a cleaning cloth. For stubborn adhesive, a laser cleaning machine can be used to ensure a clean surface for the new adhesive.
- Installation of New Back Glass: Apply a new waterproof adhesive gasket to the frame. Align the replacement back glass carefully and press firmly to ensure proper adhesion. Allow the adhesive to cure as per the manufacturer’s instructions.
- Reassembly and Testing: Once the adhesive has cured, reassemble the device and test all functionalities, including wireless charging, camera performance, and button responsiveness. Verify the device’s waterproofing by checking for any gaps or misalignments.
Timeline
- Diagnosis: 15 minutes
- Back Glass Removal: 30 minutes
- Adhesive Removal: 20 minutes
- Installation: 30 minutes
- Testing and Quality Assurance: 15 minutes
- Total Estimated Time: 1.5 to 2 hours
Cost Estimate
- Materials: $50–$100 (replacement back glass) + $10–$20 (adhesive gasket)
- Labor: $50–$100 (if outsourced to a professional repair service)
- Total Estimated Cost: $110–$220
Risks and Mitigation
- Risk: Damage to internal components during disassembly.
Mitigation: Use proper tools and follow a detailed guide to minimize the risk of damage. Handle components with care, especially the battery and wireless charging coil. - Risk: Loss of waterproofing.
Mitigation: Use high-quality adhesive and ensure proper application to maintain the device’s waterproofing capabilities. - Risk: Voiding warranty.
Mitigation: Check the device’s warranty status before proceeding with the repair. If the device is still under warranty, consider having the repair done by an authorized service provider.
Deliverables
- Fully functional iPhone 13 Pro: The device will be restored to its original condition with a new back glass.
- Documentation: Photos or videos of the repair process for reference and quality assurance.
- Testing report: A detailed report confirming that all functionalities, including wireless charging, camera performance, and button responsiveness, are operational.
Conclusion
This project aims to restore the iPhone 13 Pro to its original condition by replacing the damaged back glass. By following a systematic approach and using high-quality materials, the repair will ensure the device’s longevity and performance. Proper tools, techniques, and attention to detail are critical to achieving a successful repair that maintains the device’s functionality and aesthetic appeal.